Showing posts with label WWII Germans. Show all posts

13 March 2026

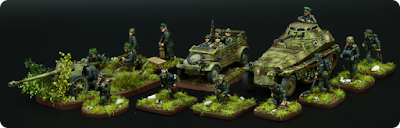
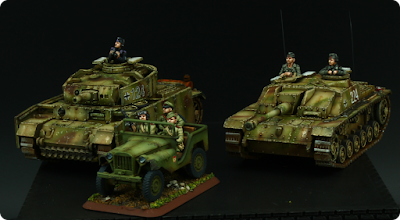
20mm German motor pool

 This submission has been simmering for a while, but I had a hard time getting started on the weathering.  I quite like the look of the vehicles once finished, but getting there is always a little tedious in my opinion. I'd rather paint some foot sloggers instead. Anyway, here's the latest reinforcements for my German motor pool.


First of a 3D printed StuG III Ausf. F/8 from Night Sky Miniatures with an AB Figures commander. While I was a bit of an early adopter when it comes to resin printing, I never got comfortable with the process. It's smelly, dirty and needs a lot of effort to get right. In short I can stand it even less than weathering the final product. And probably that's the only reason I'm not drowning in unpainted prints and I'd call that a clear bonus. I turn on the bloody machine once or twice a year and that has to suffice.


Anyway, there are certainly upsides to the technology. For one there's lots of niche stuff out there that'd be hard to get commercially and I can scale to any scale I like. So while the file was scaled to fit 28mm originally it was quickly converted to go with my 20mm collection. Especially helpful as I feel that there's less 1/72 stuff available than it used to and if it's available it's just as expensive as 28mm.


Next is a trio of 20mm PSC German trucks. The vehicles are a little too basic for my liking, but went together easily. For a little more variety I printed a box body to go with one of them. Can't remember the sculptor though, I'm afraid.


30 December 2024

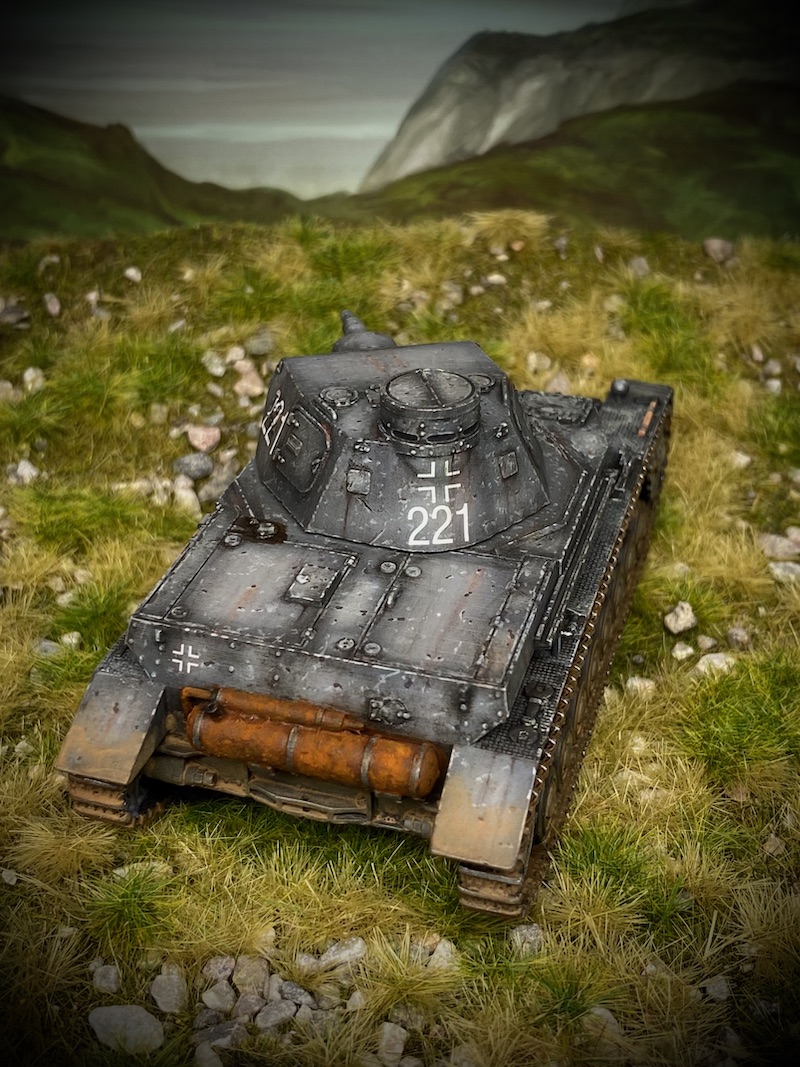
AHPC#2: Panzer IV Ausf. A


We're just into the second week of this years Annual Analogue Hobbies Painting Challenge and I already got a second entry in *enter canned applause here*. Somehow I doubt it'll last though...
One thing that was sorely lacking in my Early War German force was a Panzer IV of one of the earlier marks. For some obscure reason I settled onto an Ausführung A variant instead of the more usual B/ C/ or D variants, which were all around and in greater numbers for the Invasion of France. Be that as it may, on first sight this Ausf. A can do service as a D just as well, the overall shape being the same.
Also, nobody likes button counters anyway ;-)
The model is a 3D print from Night Sky Models over on www.wargaming3d.com and I can only recommend their files for their quality. 


I should have probably gone for the grey-brown two tone camouflage it was only at the end of July of 1940 that Panzergrau was to be used as the only color. Yet, while some pictures clearly show the earlier two tone camouflage, just as many seem to show plain Panzergrau. Given that dark brown and grey would be hard to identify correctly on all but the best black and white pictures, it might just as well be that they all still sported two tone camouflage. And frankly, I couldn't be bothered to dig deeper into it.
As I wanted this latest addition to fit in with the rest of my early German motor pool, grey it was to be anyway.


The decals on the turret were a b*tch to apply, due to the curvature on the back and the vision ports on the front. But after many a swear word and a few failed attempts we got there thanks to the liberal use of Micr Sol and Micro Set. I might have overdone the weathering just a little bit, but by May 1940 this old warrior had in all likelihood already seen combat in Poland. As it helps to make the otherwise rather dull looking vehicle look more interesting, I think it's permissable to go a little overboard. 

03 September 2023

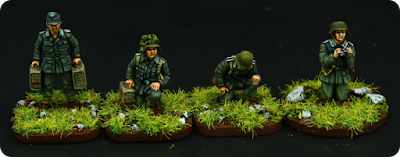
[20mm] Panzergrenadier/ Infantry Squad Nr. 4

Just realised I had these pictures sitting in a draft post since February 2022. While I‘m not intending to restart the blog I thought I might just as well share them. Enjoy!


27 February 2022

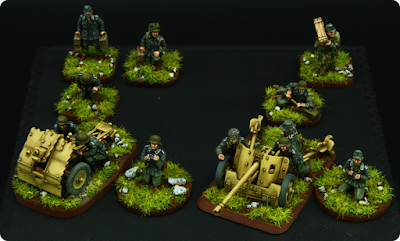
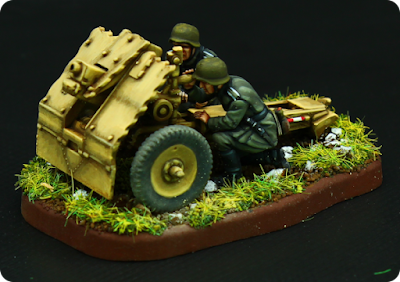
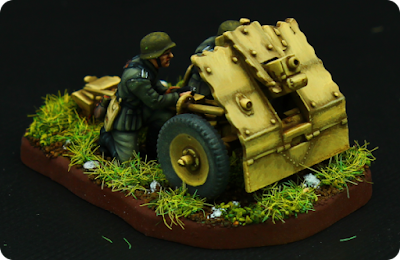
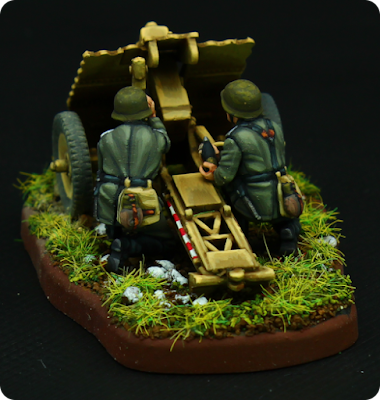
[20mm] PaK 38 & leIG 18

I‘m currently stuck in a lack of mojo, and also I‘m working on several units at once. Thus it’s taken me a while to get todays submission done. 


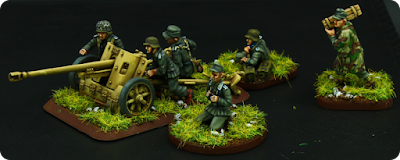
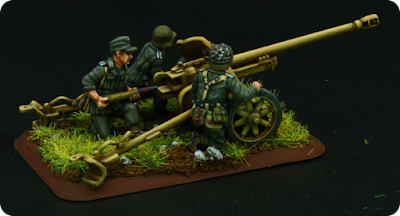
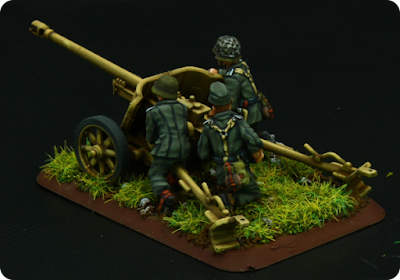
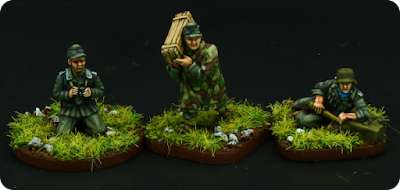
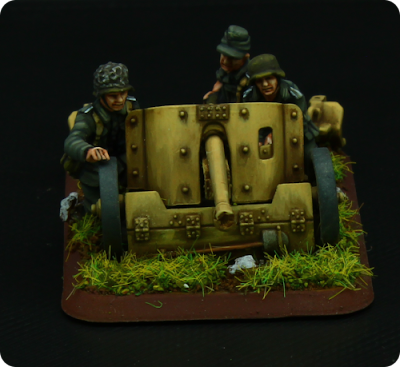
The PaK38 is a rather nice kit by PSC, but a far cry from Zvezdas offerings. As ever the crew are all AB figures. Frankly the PSC ones, that come with the gun, are utter tosh.


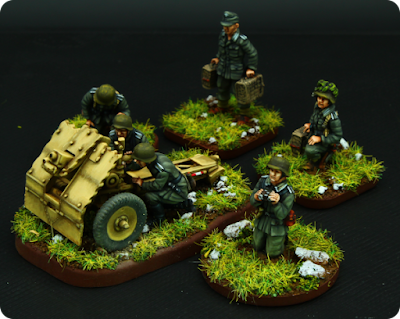
Whenever possible I try to stick with Zvezda with my guns, as they‘re so much nicer than most of what the competitors have on offer. So this leIG 18, leichtes Infanteriegeschütz 18, is no exception. The two figures actually manning the gun are als Zvezda figures while the rest, well yes, you guessed it, are AB. Unfortunately AB don’t do a dedicated set of leIG 18 crew, so I had to source these from several different sets. Yet, that’s all part of the fun, isn’t it?


 Points: 337

19 February 2022

[20mm] Panzer IV Ausf. H

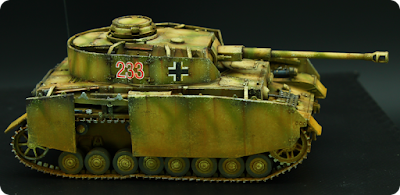
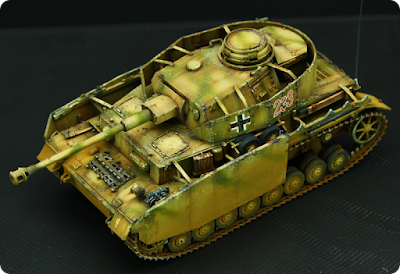
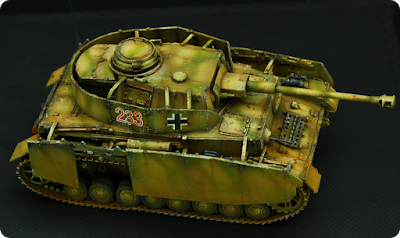
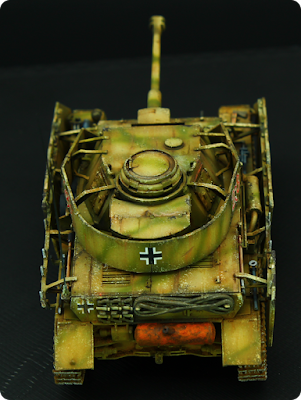
Finally got around to finish this 1/72 Panzer IV Ausf. H by Zvezda. The kit is nice enough and despite some rather fragile parts, like the rails for the side skirts, it should be sturdy enough for wargaming. But it comes with the hatches molded closed, something I really can't stand. It's not like separate hatches are so super difficult to handle during assembly. That said it's something that seems surprisingly common in 1/72 scale modeling tanks.


The kit was painted using the Real Colors range by AK Interactive. While I can't attest for the tonal accuracy the manufacturer claims, the paints work rather well through an airbrush. Much less of a hassle than acrylic paints. That said I miss the ready made modulation sets you get in acrylics. Means you've got to work more with pre-shading in black and white or mix your own modulation colours. Both things I don't really have the patience, nor the desire for.


For a more realistic look I skipped the combined edge highlighting/ micro scratch method I went with for my more recent vehicles but only used a sponge to apply some wear and tear here and there. Not fully convinced though, as a) I find the sponge very hard to control and b) it looks less 'defined', less visually interesting, especially at arms length.


For most of the weathering I used AK Interactive Weathering Pencils. Quite an interesting tool, especially as you can create different effects depending on wether you apply them dry or wet. Only the rust effects didn't really convince me, as they look somewhat off compared to the same effects done in enamels. So they're (of course) not the deal changer they're marketed as, but another useful tool in the tool box.


Points: 273

02 February 2022

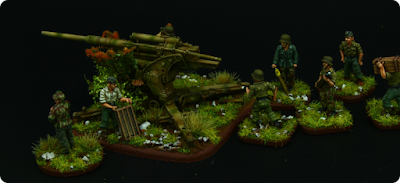
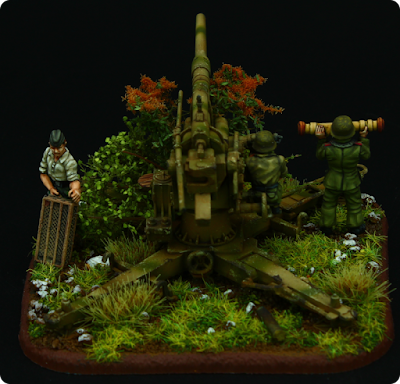
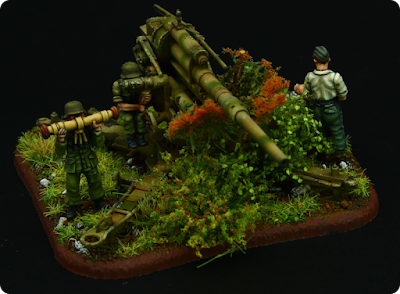
[20mm] 8.8cm Flak 36

 Fielding an 8.8cm Flak 36/37 in a skirmish game is probably akin' to overkill, but it's such an iconic piece, I simply had to get me one. Figures are 20mm AB as ever, while the Flak gun is from Zvezda. I had thought about creating a larger vignette style base, but as the gun comes without carriage I decided otherwise. But given the AB figures would let themselves well for a diorama due to their posing I might yet do one.


Wanted to try out a new recipe for Reed Green summer Drillich uniforms, but it turned out way too greenish. Still I couldn't be bothered to correct it. For the moment at least. Given the Wehrmacht used any kind of captured stock and dyes often varied from batch to batch anyway I think I'll get away with it... even if maybe just ;-)


I'm not completely sold on the shrubbery, thus it's not glued in place yet. 


Points thus far:
222

31 December 2021

[20mm] German & Soviet Support

Well, the last day of the year is finally upon us and the 12th iteration of The Painting Challenge is already well underway. SoI thought it best to finally take pictures of the last stuff I managed to finish before the latter kicked off. There are still a few half finished items sitting on the shelf, but these will either have to wait till after the challenge, or I'll have to bite the bullet and miss out on points. 

Also I want to take the opportunity to thank fellow blogger Airhead from "Take The High Ground" blog, who pointed me into the right direction in regards to my problems with commenting on your blogs. Thanks Airhead!

Anyway, on to todays offerings I'd say.


12 December 2021

[20mm] German Support Options

With the Annual Analogue Hobbies Painting Challenge looming large on the horizon it's about high time that I clear my backlog of as of yet unpublished figures. It's actually not that much, mind. And as I don't even own some of them anymore anyway I can't actually show them all.
Still, my 20mm Germans needed some more support options. So here are the first of hopefully a whole lot more.

01 November 2021

Waffen-SS Eichentarn Winter Colour Guide

Well, OK. I've promised to write this Colour Guide for way too lang already. And in actual fact I already posted it on Twitter way back, but as that's not really the most well suited platform for such a thing, I thought I should finally get my finger out and post it over here as well. For posterity so to speak ;-)

24 October 2021

[20mm] Airborne Jeep with German & British Crew

As some of you may be aware, my good friend Curt of analogue-hobbies.blogspot.com fame and I have a miniature exchange ongoing. Not sure for how long but by now a fair few figures have crossed the Atlantic either way to find residence on another continent. For this years figure I was at first at a loss as what to paint, when Curt made a fleeting remark about wanting to do a force for OP Market Garden at some point. And there it was my inspiration. 

Picture taken from https://europeremembers.com

17 October 2021

[20mm] 3rd German Squad and some support

Again some time has passed by since my last post. And actuallyI got some more reinforcements for my Germans done. As before these are from the superb range of 20mm WW2 figures by AB Figures.

28 August 2021

[20mm] 2nd German Squad

Apologies my friends as I've been AWOL (again) for a while. Nothing too serious, but life has a habit of getting a little hectic at times. Also I have to admit I've simply not felt like taking pictures of my progress. It's so much easier taking a snap shot with your mobile phone and posting it to your social media of choice, than investing the time in setting up your 'proper' camera equipment. Make of that what you will, but I hope to get some more stuff posted again over the coming weeks. 

18 April 2021

[20mm] More Soviet reinforcements & First German Squad

Following on from my last post today we have some more Soviets as well as the first Germans in 20mm. But let's start with the Soviets shall we? Again these are lovely sculpts from AB Figures

19 December 2020

9th SS Hohenstaufen - Jagdpanzer IV L/48

 It's only a couple of days, well more like a couple of hours till the Annual Analogue Hobbies Painting Challenge is about to start. It's the 11th iteration of this bout of hobby madness and I'm pleased to report I've been... ahem... volunteered to act as a minion by our esteemed Snow-Overlord Curt.
After a somewhat challenging year I'm rather looking forward to indulge myself in the fun and banter the Painting Challenge provides aplenty year after year. 

My hobby output was rather sparse throughout the year as I frankly didn't have the best of years, neither job wise nor privately. I'm pretty certain that most of you out there will have had similar experiences so instead of dwelling too much on what has been a f***er of a year, let us just look forward to a -hopefully- better 2021.

05 December 2020

9th SS "Hohenstaufen" - Support Squad

I'm still happily beavering away on my SS force for Arnhem. The core three squads are done, so here's a fourth squad as a support choice. In order to differentiate these from the core squads I gave them camouflage equipment in the autumnal version of the Oak Leaf camouflage pattern. A small tutorial is to follow soonish... once I find my bloody phone.

08 November 2020

9. SS "Hohenstaufen" - Sd.Kfz. 251/3 Ausf. D

Todays offering is probably a little unusual in that it would have little use in a wargame except for maybe a mission specific objective or the like. But as I'm a big fan of such things, especially when they're almost little vignettes in themselves, I got me one of those clever upgrade sprues from Rubicon Models to convert a standard Halftrack into a mittlerer Kommandopanzerfagen communications vehicle.

27 September 2020

Panzervernichtungstrupp

Following a (not so) recent discussion over on the TooFatLardies forum I felt the urgent need for a full Panzervernichtungstrupp/ Tank Hunter Squad. The miniatures on offer didn't really float my boat, so I reverted back to scratch building using different bits from Warlord Games range of plastic WWII miniatures and metal Panzerschrecks from Heer46.

22 September 2020

9. SS-Panzer-Division "Hohenstaufen"


Over the last couple of months I took a break from blogging as frankly I found it too much of a time sink. Real life meant the hobby in general was put on a back burner. So much so that I barely could muster the energy to do at least some painting. I'm still not back to my normal glacial output but at least I found the motivation to take some pictures of figures finished a few months ago already. So I'll start with what will be the core of my 9th SS "Hohenstaufen" (or any other SS unit involved in the fighting around Arnhem really) force for the eagerly expected but somewhat elusive future Operation Market Garden supplement for Chain of Command. Looks like this will be the first time ever I have a playable force ready even before the book is released.

01 May 2020

Waffen-SS - Erbsentarn Colour Guide

Following on from last weeks Colour Guide on the summer version of the Oak Leaf camoflage pattern today it's time for the Erbsentarn or Pea Dot pattern. Both camouflage patterns were widely used at Arnhem. But beware Pea Dot pattern was never used on anything else than uniforms and field caps. There were no smocks, no helmet covers, no mittens or even Zeltbahnen in this pattern.
Thus I went for the Oak Leaf pattern for all of these items as this was the most widely distributed at the time.

My painting style is based on the so-called Triad-System or Foundry System in which you use a Shade as the darkest colour. Then you paint over it using what is called a Base Colour (in general the actual colour you want to achieve for the piece you're just painting) leaving the Shade show only in the folds and recesses, followed by a Highlight on the points which will catch the most light. However, I'm using intermediate steps to make the transitions between the different colours much smoother.
Thus typically the steps I use would look somewhat like:

Shade - 50/50 mix Shade/Base - Base - 50/50 mix Base/Highlight - Highlight

In general what I'll give you in this tutorial is the three colours as if used as simple triads. If you prefer the more elaborate approach just add in the intermediate steps mentioned above, or start from an even darker Shade or end with a lighter Highlight.

If fractions in brackets are given these are just approximations. Just try what looks best to you.


Note: I haven't documented every single step for this Colour Guide, so you might want to refer to some of the guides I wrote earlier. To do so just go to the top of the page where you'll find a link to a page containing direct links to all the Colour Guides I wrote to date.

Step 1:
The uniform is painted using a base coat of VMC 70.871 Leather Brown. As I won't add any highlights later on I made doubly sure to let the black primer show in the recesses and seams thus adding some depth

Step 2:
This was followed by random spots of VMC 70.876 Brown Sand. Again I stop at seams and crevasses to add interest and hint at the uniform being sewn together from printed cloth instead of camo being painted on afterwards like with the British Denison Smocks for example


Step 3:
Now dark spots are randomly applied next and partially on top of the light spots using AC Fieldgrey 2nd Shadow. Any other dark-greyish green can be used just as well. Don't use pure black though as the contrast would be too stark
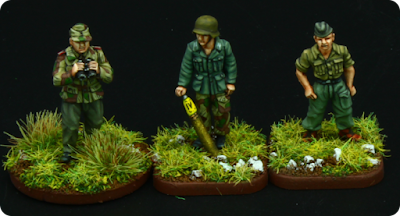

Step 4:
Now the last layer of bigger splodges is applied using VMC 70.881 Yellow Green. As before make sure not to cover your black lining but instead let the different coloured spots slightly overlap


Step 5:
Now comes the fun part. The small dots. Using a brush with a sharp tip I painted small dots of VMC 70.871 Leather Brown over the brighter (i.e. Sand Brown and Yellow Green) spots. Don't bother with spots on the Dark Green as they'd disappear due to lack of contrast


Step 6:
This is followed by small dots of AC Fieldgrey 2nd Shadow. Don't over do it as less is sometimes more
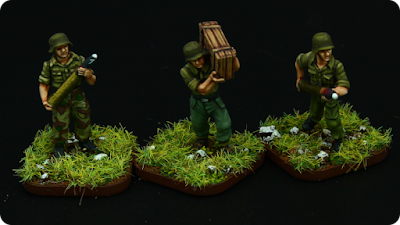

Step 7:
Now in a final step small dots of VMC 70.876 Brown Sand and VMC 70.857 Golden Yellow are painted on top of the darker areas. It's not necessary to paint dots on the brighter areas as with the dark spots before these would disappear do to lack of contrast.

So, there you go! Quick and easy Pea Dot pattern camouflage for your SS thugs.


I hope this short guide was of use to some of you. As ever, should there be any questions or you'd want me to do a specific Colour Guide just let me know in the comments below.